So this time, we'll go through the steps of how to make a ribbon dog collar. I found this ribbon imported from Germany and just had to try it! I do think ribbon the same size of your nylon webbing looks best, but sometimes, you have to compromise. This ribbon only came in one size, 1/2 inch. I used it to make a one inch collar for Petey, my GSP, and a 7/8th collar for Belle, my other Boston Terrier. I want to make one for Jelly as well, but I ran out of ribbon so will have to get some more.
The sewing steps are the same as the fabric collar, just a little different in the beginning of the process.
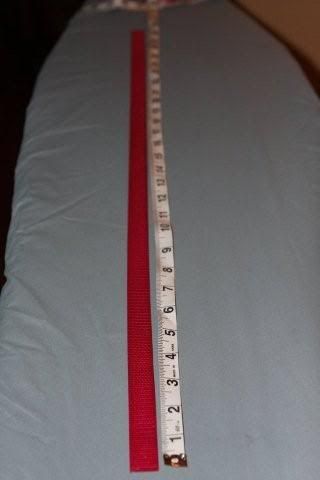
Start out by measuring and cutting your nylon webbing. I'm using this 7/8th raspberry pink nylon for Belle, and her neck is 14 inches. I like to measure twice the length of the neck, so in this example, 28 inches.
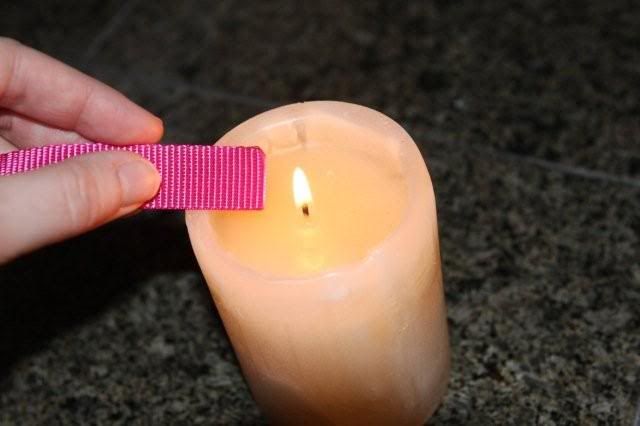
When using nylon webbing, burn the ends to prevent fraying. If you use cotton webbing, do not burn, but try to sew down the ends instead. With nylon, if you hold the ends close to the flame, you can see them melting just slightly. I didn't bother to burn the webbing in the fabric collar as none of it is exposed as it is with a ribbon collar.
In place of interface, I use Heat-n-Bond as it comes in pre-cut rolls. I'm using a 3/8 width here.
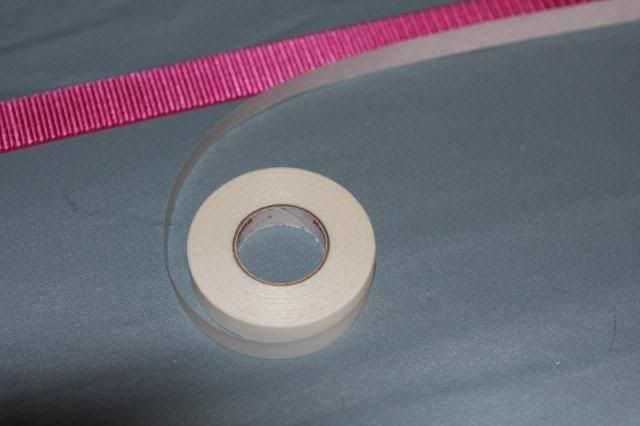
Next, cut your ribbon an inch or two longer on each end of the nylon, or in this case, about 30 inches.

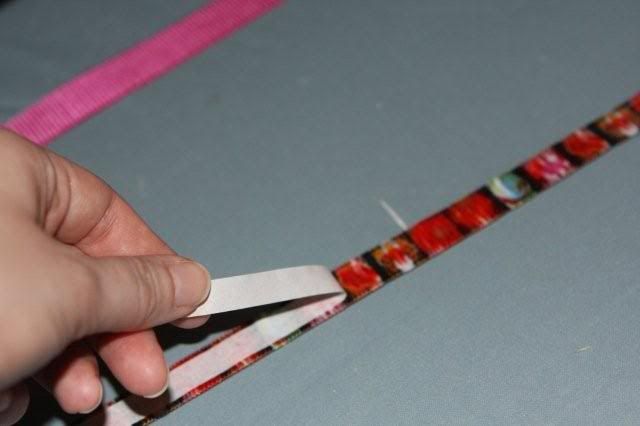
Iron the Heat-n-Bond onto the back side of the ribbon and when cooled, peel off the paper backing.
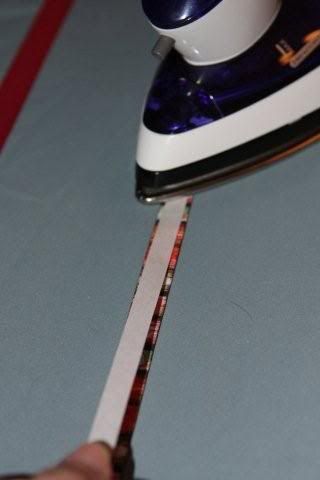
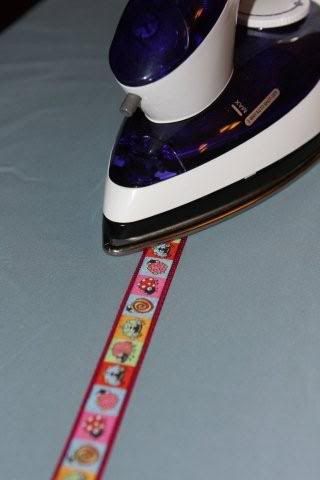
Next iron the ribbon onto your nylon. In a case such as this where the ribbon is smaller than the nylon, make sure to center the ribbon!
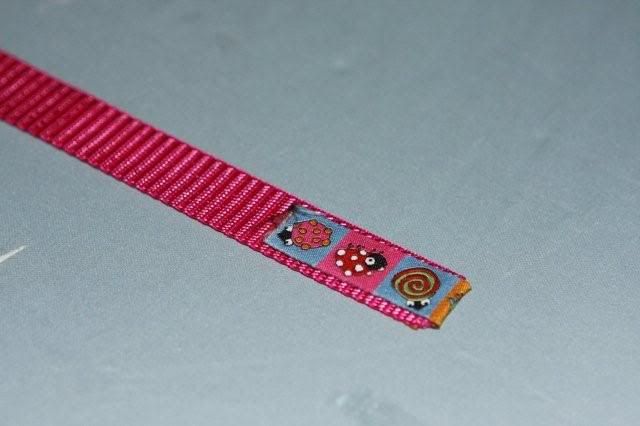
Fold down and iron the ends of the ribbon on the backside of both ends of the nylon.
At first, be thrilled the pups are playing nicely this time on your way to the sewing machine.
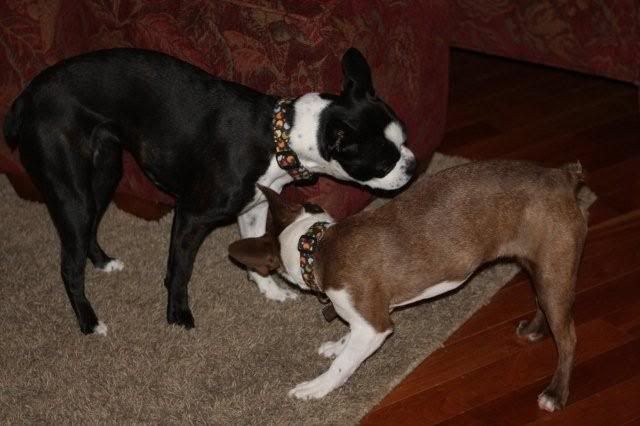
But when looking over again a moment later, discover an old shoe is on the agenda this time.
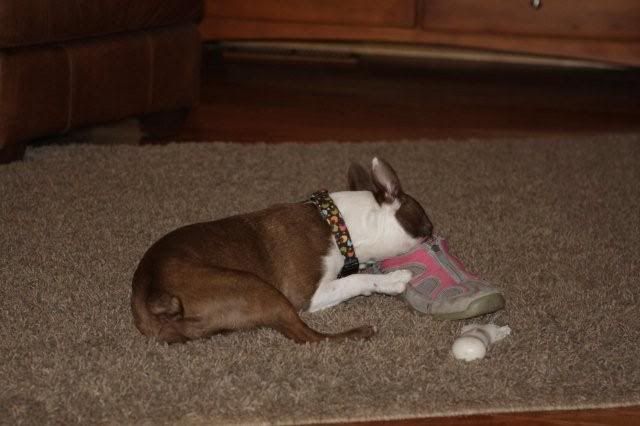
Go rescue the shoe and then on with the sewing! Sew down both ends and then down both lengths of the collar, and sew on the hardware exactly the same as with the fabric collar.
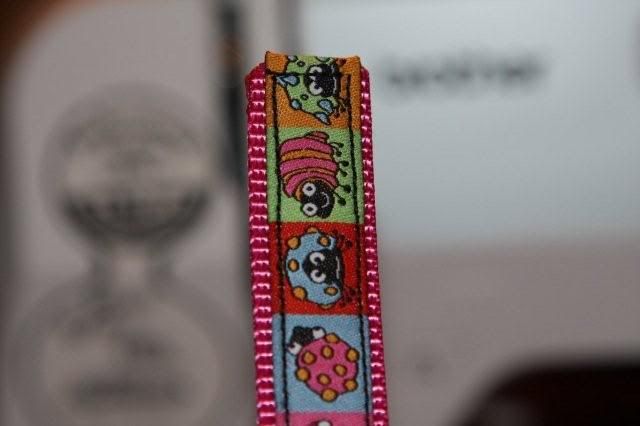
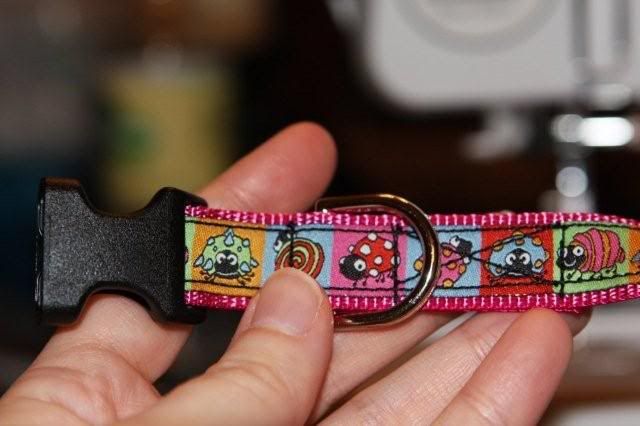
Notice your attentive audience reminding you with a not-so-subtle stare that its supper time.
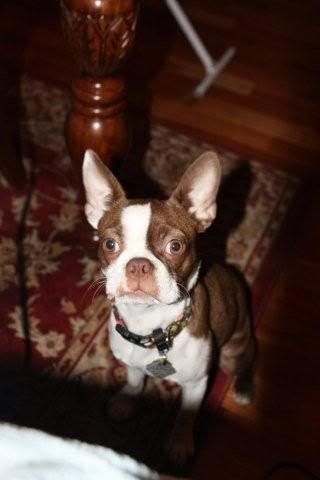
Keep sewing. :) Again, follow the same steps as with the fabric collar.
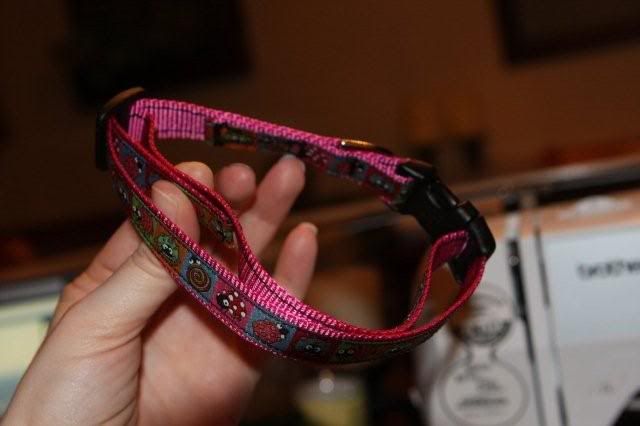
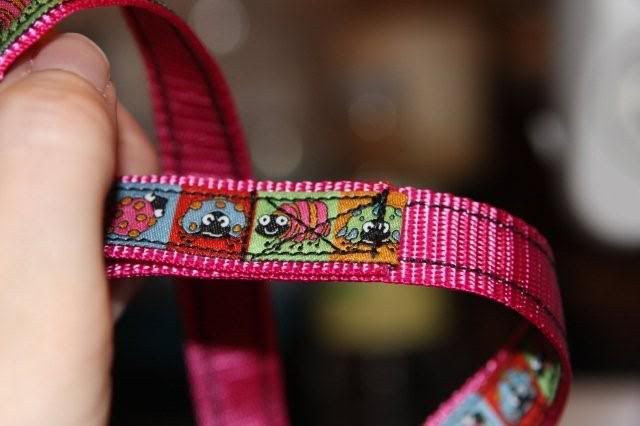
Now the reason I like to measure the nylon twice the length of the dog's neck rather than the usual neck size + 8 inches is simply for a more attractive back to the collar. Please note though that this means the smallest size of the collar is the size that will fit your dog.
The front of the collar at 14 inches, Belle's neck size.
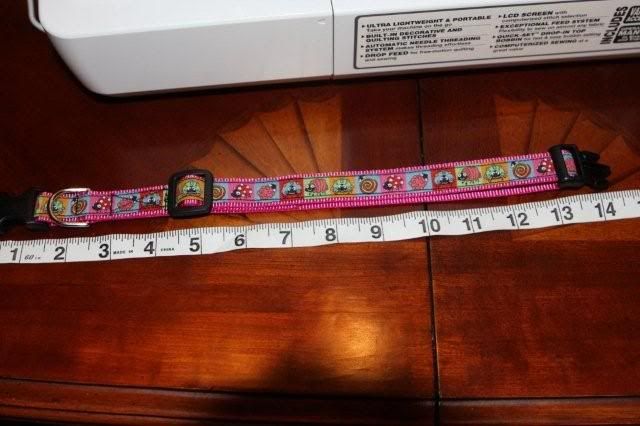
And then the pretty backside at 14 inches. This way, on the smallest setting, you have ribbon on both front and back and none of the ugly stitched nylon is exposed. However, that does mean the collar cannot be adjusted smaller to fit the dog, only larger, so this only works if you know the exact neck size.
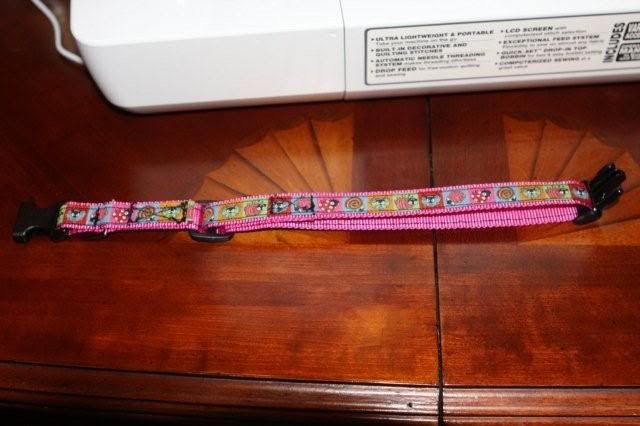
This is typically what the back of a ribbon collar would look like otherwise. Ultimately, it's just the back and doesn't show, so totally up to you. :)
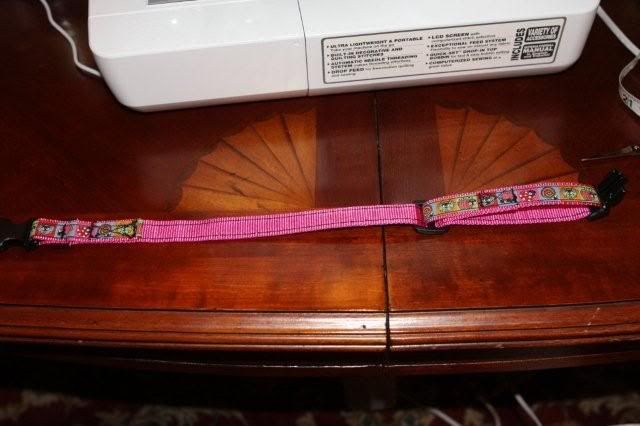
The finished collar!
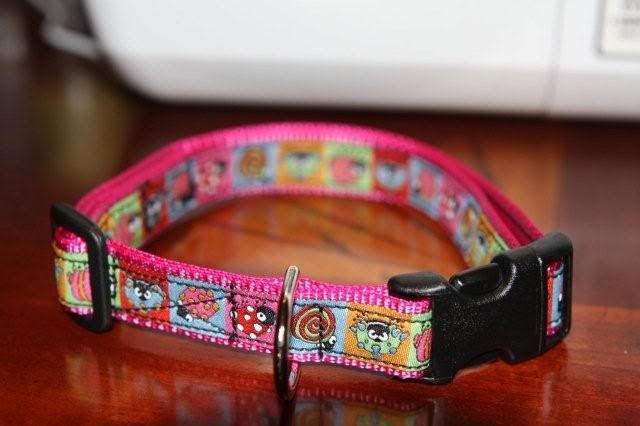
The finished collars: 1/2 inch ribbon on 7/8th pink for Belle and one inch black for Petey. Ideally the ribbon size will be as close as possible to the nylon size, but you can still make it work!
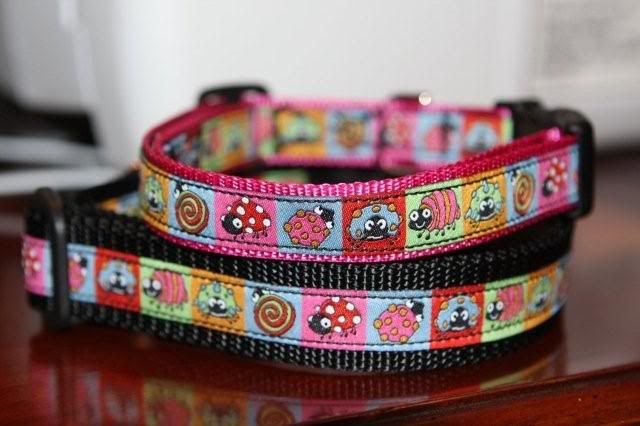

i love the lady bugs smiley!!
ReplyDeleteThat "not so sublte" supper stare down breaks my heart!! hehe
I'm making ribbon collars with the nylon webbing for my Yorkie puppy. I love your idea of using the heat and bond to hold the ribbon in place while you sew. I'm sure it also helps keep the edges down as well. I love your collars and your cute pups! Thanks for the tutorial and tips.
ReplyDelete